Buttercream Rose Tutorial
Buttercream roses are a delightful and elegant way to adorn your cakes, adding a touch of beauty and sophistication to every bite! But creating these intricate bites of heaven can feel intimidating, am I right?
Well fear not - as a former cake decorator, I’m here to tell you that with the right technique and a bit of practice, you'll be whipping up stunning buttercream roses in no time! In this tutorial, I’ll take you through the process of making beautiful roses step-by-step.
Prefer watching the video tutorial instead? I’ve included it at the bottom!
Prepare Your Tools
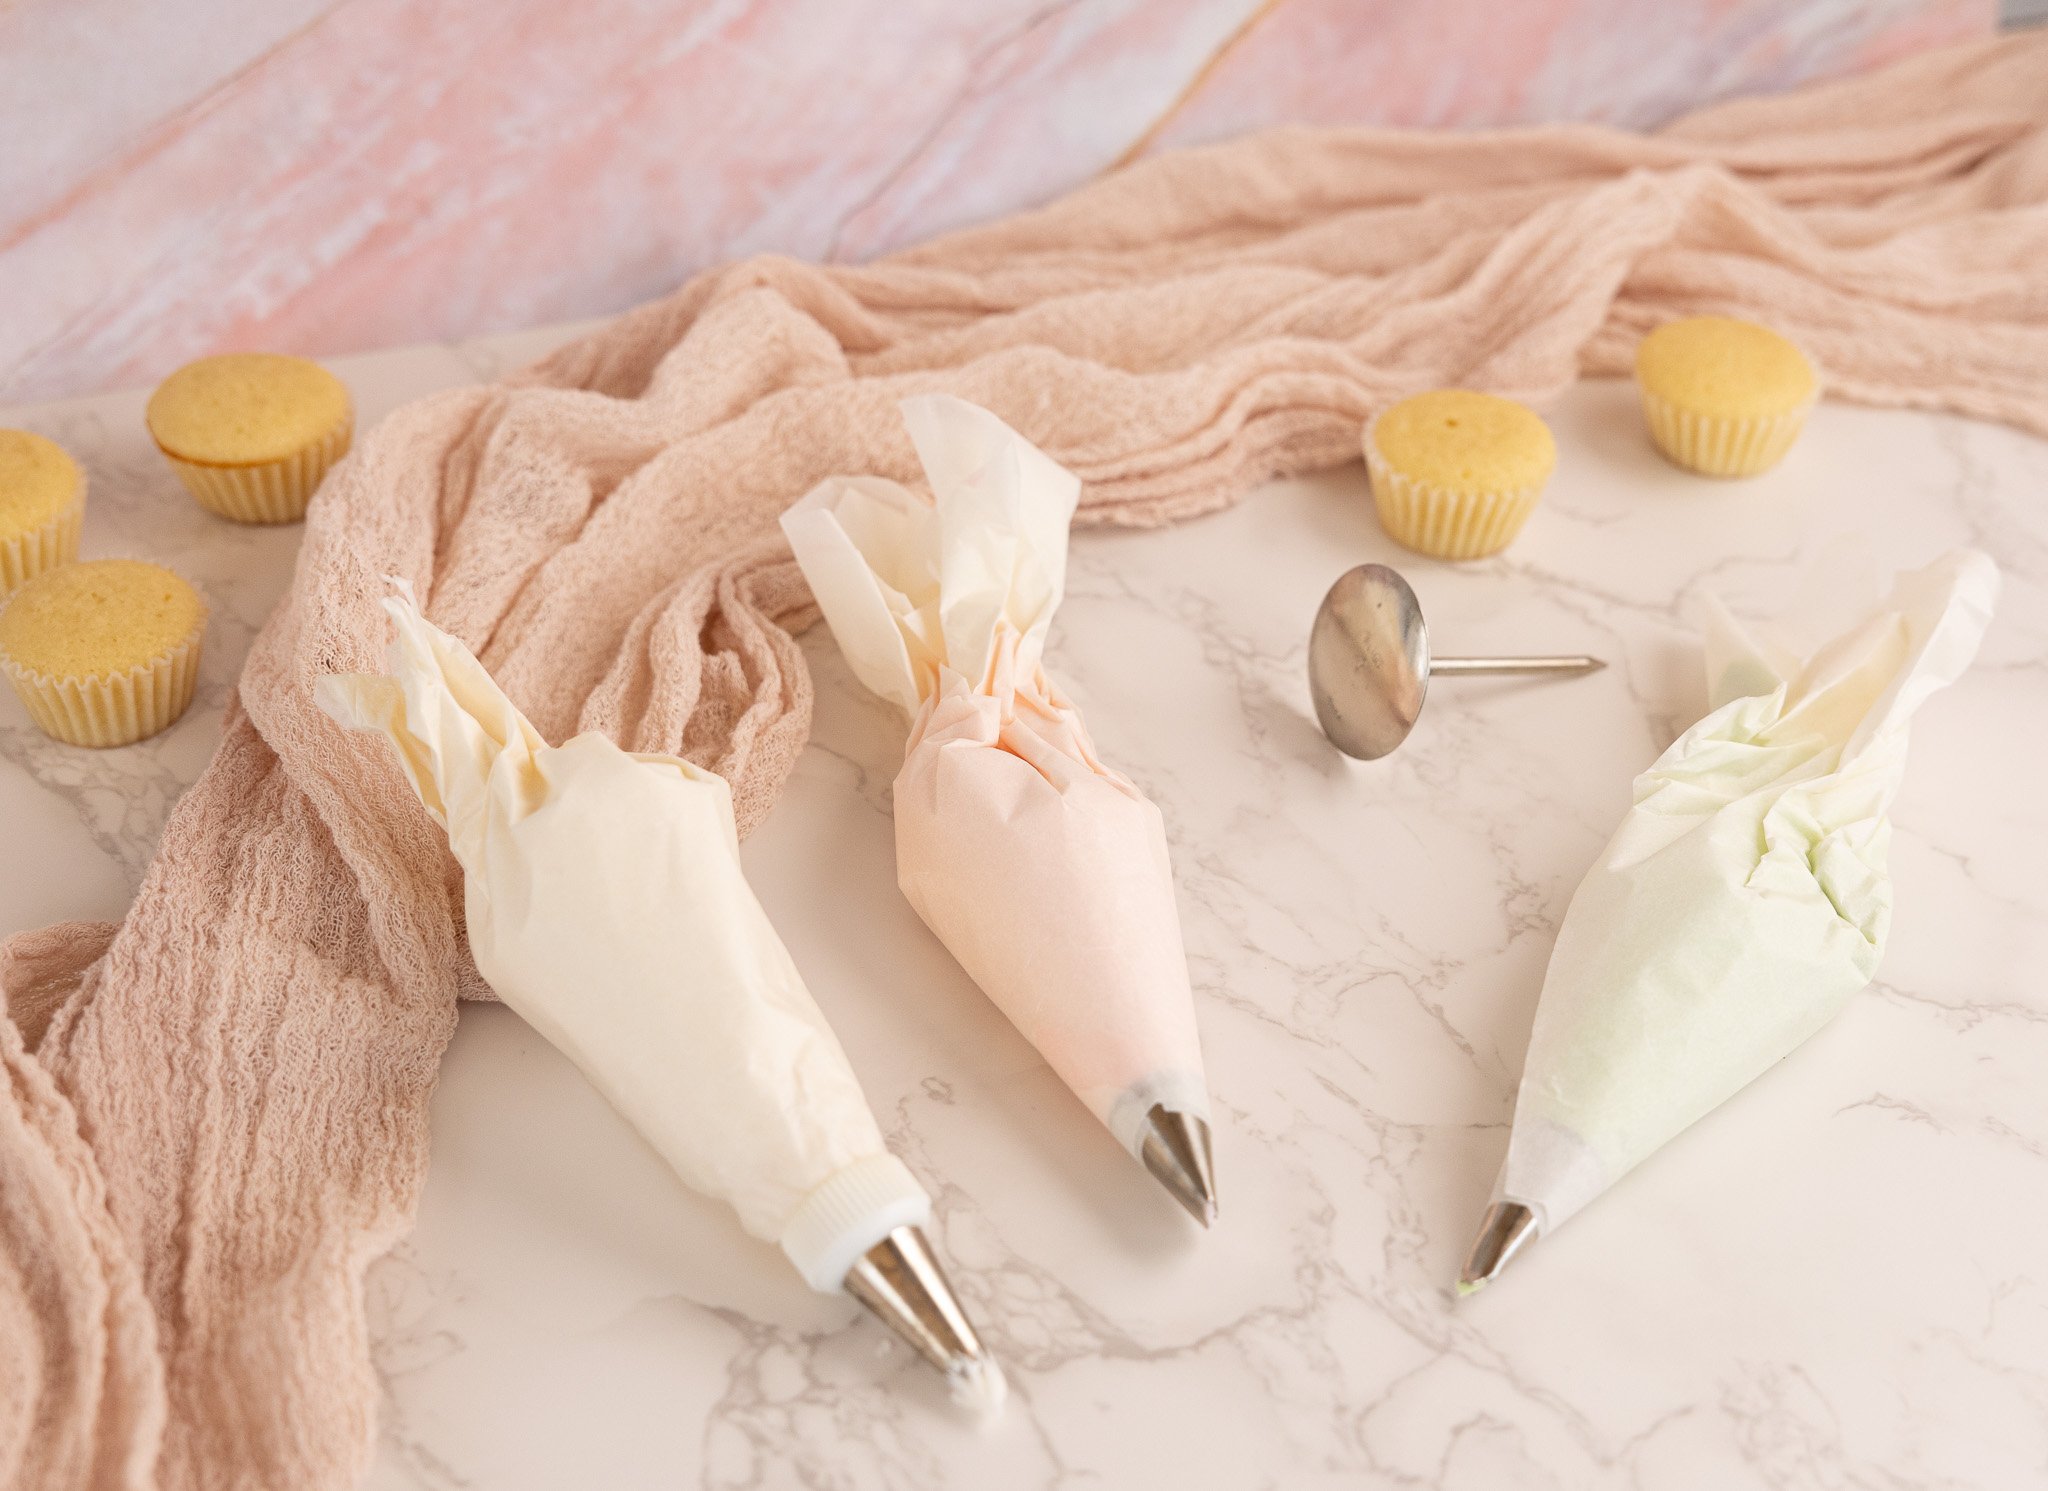
Before you begin, gather all the necessary tools. You'll need a pastry bag fitted with a rose tip, rose buttercream, a rose nail, and a flower lifter like this one or a small pair of scissors. Ensure that your buttercream is at the right consistency for piping—smooth and easily pliable.
Assemble your pastry bag and attach the rose tip securely. Fill the bag with your prepared rose buttercream, making sure not to overfill. Twist the top of the bag to secure the buttercream and apply gentle pressure to test the flow.
Begin Your Rose
With your dominant hand, grab your pastry bag and hover it over the nail in your other hand with the wide tip side-down. Tilt the tip forward and apply enough pressure with the pastry bag to create a decent pile of buttercream on the nail. This will serve as the base for building the petals.
Spin the Nail
With the base in place, start spinning the rose nail in the opposite direction of the tip. This spinning motion will help create a natural-looking spiral for the center of your rose.
Add Petals Layer by Layer
Begin piping the first layer of petals around the base, moving in a circular motion. As you pipe each petal, slightly overlap it with the previous one. Continue adding petals, layer by layer, until your rose starts to take shape. Adjust the pressure on the pastry bag to control the size of the petals.
Round Off the Bottom
Once your rose looks full and well-formed, round off the bottom by wrapping a petal all the way around. This step not only completes the look of the rose, but also ensures a clean and polished appearance!
Apply the Rose
Using small scissors, carefully lift the rose off the nail. Be gentle so you’re leaving the rose intact. Apply the rose on cake, cupcakes, or any dessert you want. Continue this process until you have an arrangement you’re happy with.
Add Leaves
And what’s a rose without its leaves? In another piping bag, fill it with a leaf tip and leaf buttercream (this usually has a thinner consistency than roses). Squeeze leaves under the base of the rose and pull outwards for fullness.
shop my kitchen
You’re Ready to Decorate!
With these simple steps and tips, you're now equipped to create beautiful buttercream roses to enhance your cake decorating skills. Remember, practice makes perfect, so don't be afraid to play around with different tools and refine your technique. Soon, you'll be delighting friends and family with your beautiful cakes. Happy decorating!
Prefer the video? Check it out!
P.S. Enjoy this tutorial? Then, be sure to pin it to Pinterest so you can use this post as a reference!


